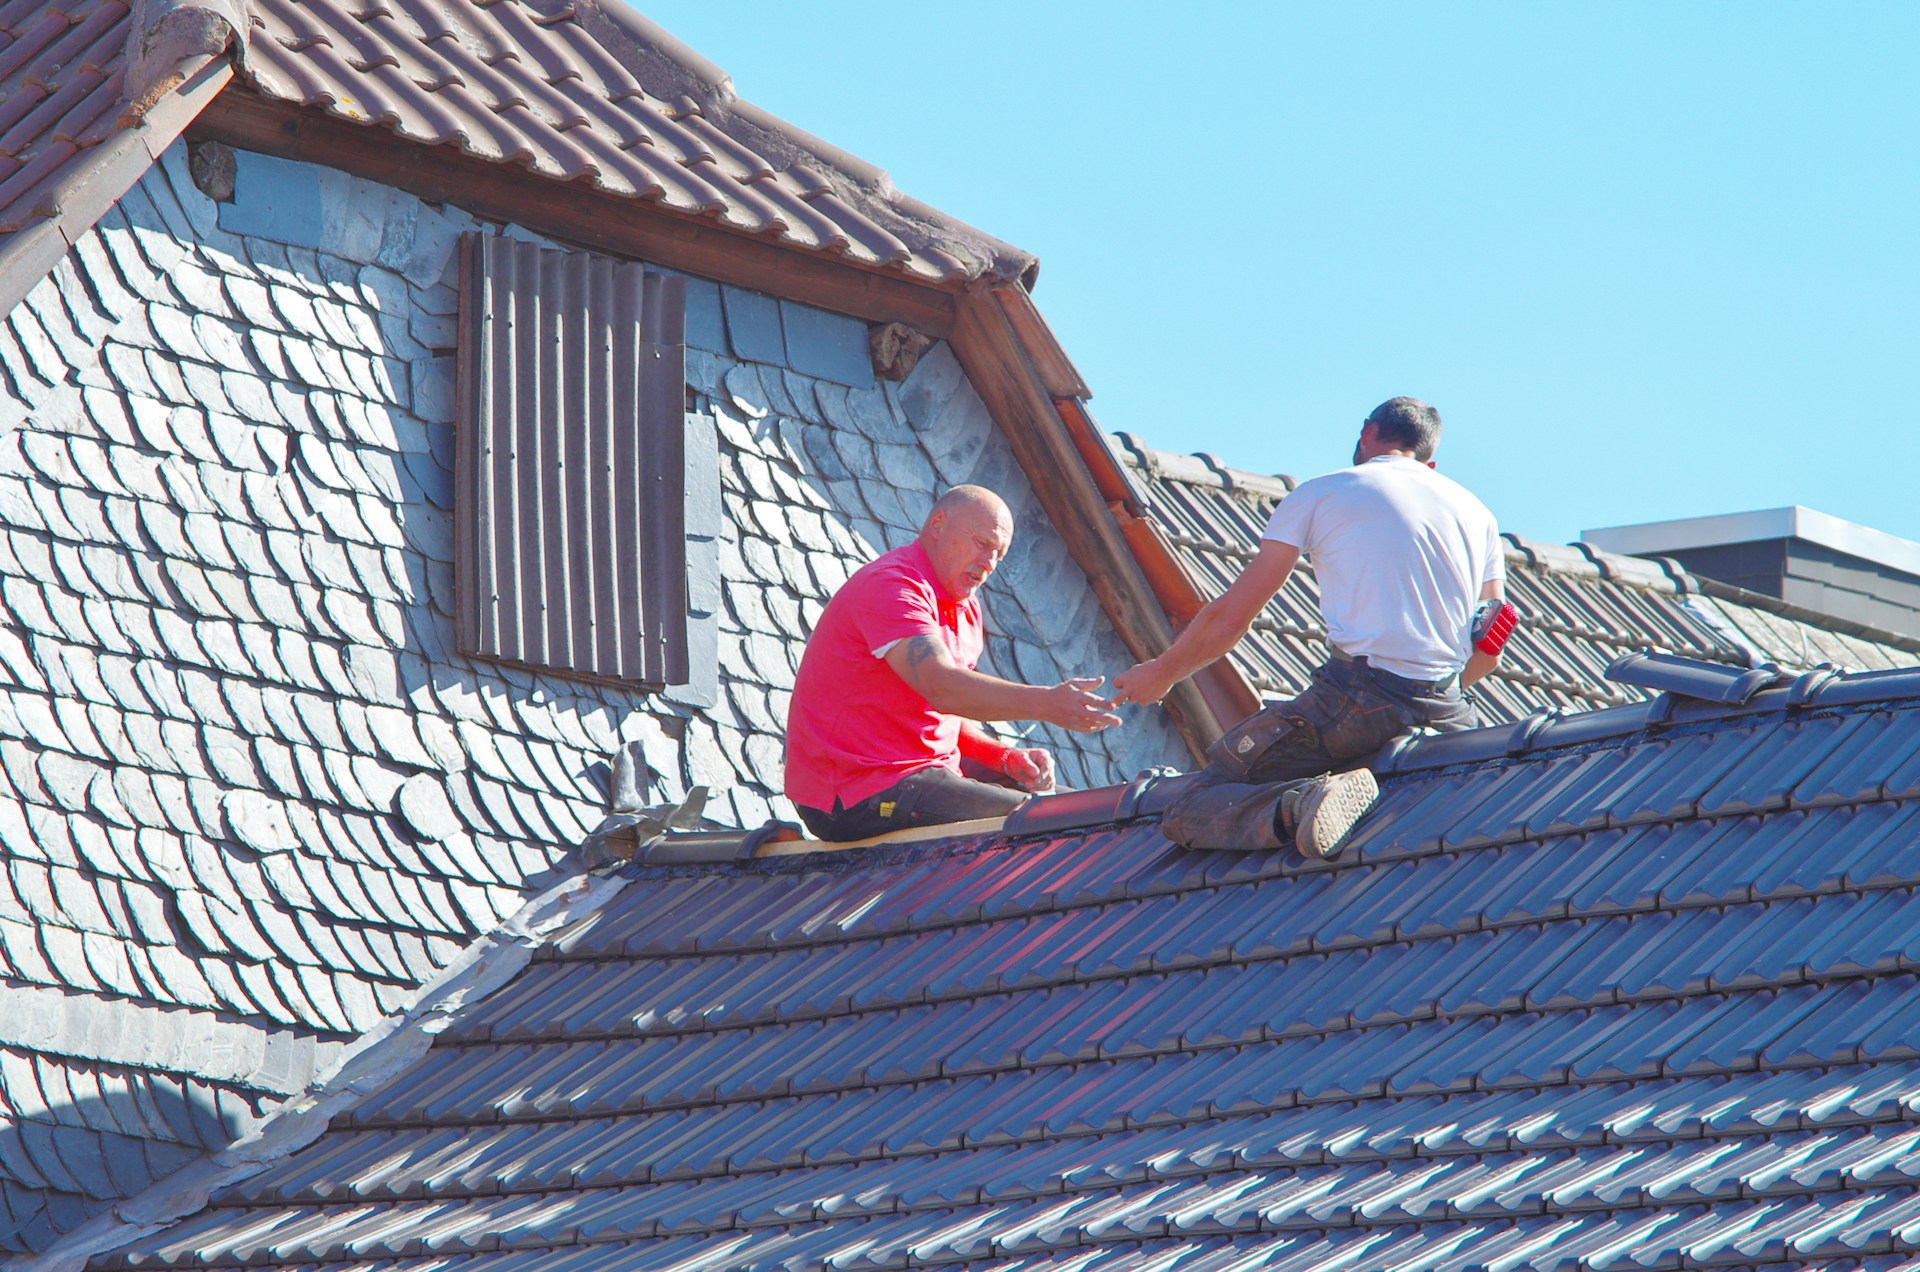
Old EPDM roofing glue doesn’t last forever. Over time, its grip weakens, it cracks or peels, and that can make your roof more vulnerable to water damage or air leaks. Whether it’s showing signs of wear or was applied poorly in the first place, replacing the adhesive is a solid way to extend the life of the roof covering. Professionals working on commercial sites or renovation projects often run into this issue, and dealing with it correctly saves time and avoids added costs down the line.
EPDM roofing glue is widely used in roofing applications because it’s flexible, weather-resistant, and holds strong across changing conditions. But to get the best results, you need the surface prepared properly and the adhesive applied with care. If the old glue isn’t removed the right way, the new layer won’t hold. That can mean wasted effort and materials. Getting the process right starts with a solid plan and the correct tools before starting the job.
Preparation
Before doing anything with the roof or adhesive, gather the tools and materials you’ll need. Having everything sorted ahead of time keeps the job smoother and reduces delays when you’re up there working. Here’s a list of what you’ll likely need:
- Safety gloves and glasses
- Protective clothing
- Scraper or roofing spade
- Cleaner or adhesive remover
- Broom or brush
- Replacement EPDM roofing glue
- Roller or adhesive spreader
- Waste bags for disposal
- A clean piece of EPDM membrane in case patching is needed
Safety is a big one. Make sure the area is secure, especially if you’re working on a multi-storey building. Use harnesses or fall protection if required, and don’t work in windy or wet weather. Clean, dry surfaces are key for glue to do its job.
It’s also smart to inspect the roof before you start. Remove any obvious debris like leaves, stones, or broken flashing. Make sure the area around the damaged adhesive is free from moisture. Use a broom to sweep it down, then run your hand lightly across the surface to feel for any soft spots or bubbles beneath the membrane. Those areas might need extra attention during removal.
Proper setup saves a lot of problems later. You don’t want to rush halfway through only to realise you’ve missed a step or grabbed the wrong product. Having your tools ready and a dry, clear workspace helps the new adhesive stick exactly where and how it should.
Removing Old EPDM Roofing Glue
When removing old EPDM roofing glue, take your time and focus on keeping the membrane and surface areas as clean and smooth as possible. Rushing this step often leads to problems once you begin applying the new adhesive.
Follow these steps to remove the old glue:
- Use a scraper or roofing spade to lift away the worst of the glued-down membrane. Focus on loosened edges or any areas already peeling.
- Carefully pull back the membrane using steady, even pressure. Avoid tearing. If any sections resist, stop and apply adhesive remover to break the bond before trying again.
- With the membrane rolled back or fully removed, use the scraper to peel away leftover glue stuck to the surface.
- Apply adhesive remover or a mild solvent to soften stubborn or thick layers. Let it sit for a few minutes, then go in again with your scraper.
- Once clear, wash or wipe down the surface to remove any residue and allow it to dry completely.
Sometimes, parts of the old glue just won’t budge. When that happens, a heat gun can be helpful. One example of this is when a team was removing EPDM from a flat warehouse roof, and sections near the joints had hardened under years of sun exposure. A low heat application softened the adhesive just enough to peel the layer without damaging the substrate underneath.
Don’t forget to bag up and safely dispose of the old adhesive and any scrap membrane. Most waste stations won’t accept building material unless it’s separated and bagged correctly. Make sure no loose debris is left around before starting the next phase.
Applying New EPDM Roofing Glue
Once your surface is dry and clear, it’s time for the fresh glue. This step might seem straightforward but doing it right takes more than just rolling on some adhesive.
Here’s a simple walkthrough:
- Unroll and position the EPDM membrane where you want it. Let it relax in place for about 20 minutes. This reduces tension and helps prevent bubbles.
- Fold back one half of the membrane, exposing the surface underneath.
- Using a roller or flat spreader, apply the new EPDM glue evenly across the exposed surface. Don’t skimp in corners or low spots.
- Wait a few minutes for the adhesive to become tacky, then slowly roll the membrane back down. Use a clean, stiff broom or roller to press it while removing air pockets.
- Repeat for the other side.
- Trim edges if needed and press down all corners and overlaps firmly.
Avoid overapplying glue. You want full coverage but not puddling. Too much adhesive can cause ridges or weak points once it dries. Watch for air bubbles and don’t ignore small ones. These can rise over time and weaken the bond.
Working in shade or cooler parts of the day helps control the drying speed. Direct sun and heat can dry the glue too fast, leaving less time to position the membrane properly.
Maintenance Tips To Keep It Looking Good
Applying new glue is only part of it. Keeping that new bond strong takes regular care. It doesn’t need to be frequent, but a bit of attention a few times a year can prevent bigger issues.
Here’s what you should check:
- Look over seams and corners to make sure they’re still sealed tight
- Gently walk areas to feel for soft spots or bubbles under the membrane
- Inspect after storms for signs of lifted edges, pooling water, or slipped sections
- Keep branches and leaves off the surface to avoid punctures or uneven wear
- Clean the surface gently with approved products to avoid damaging the membrane
If you notice corners peeling or glue turning brittle, it could be time to spot repair or plan future re-application. Don’t delay small repairs. They tend to spread quickly, especially during wet conditions.
Schedule a professional inspection once a year if possible. A fresh pair of eyes can notice small signs before they become bigger problems.
Keep That Roof Holding Strong
Replacing aged EPDM roofing glue may feel like a small step but it plays a big role in how long your roof lasts. Cutting corners with poor surface prep or rushed application can ruin the new adhesive, costing more time and materials later. Taking correct steps from the start makes the replacement hold better, look cleaner, and last longer.
Once you’ve handled the glue replacement properly, the rest comes down to looking after it. Check now and then, fix small issues, and don’t ignore early signs of wear. It’s easier to keep a roof secure than deal with damage repair. A well-adhered EPDM membrane doesn’t need much attention, and it should stay that way with the right care.
Keeping your EPDM roof in top shape is all about using the right products and techniques. Whether you’re working on new installations or replacing worn sections, choosing high-quality materials like EPDM roofing glue can make all the difference. At VDB Adhesives, we provide a wide range of solutions to suit your construction needs. Explore our offerings for more information on how we can help your business maintain long-lasting and reliable roofs.

